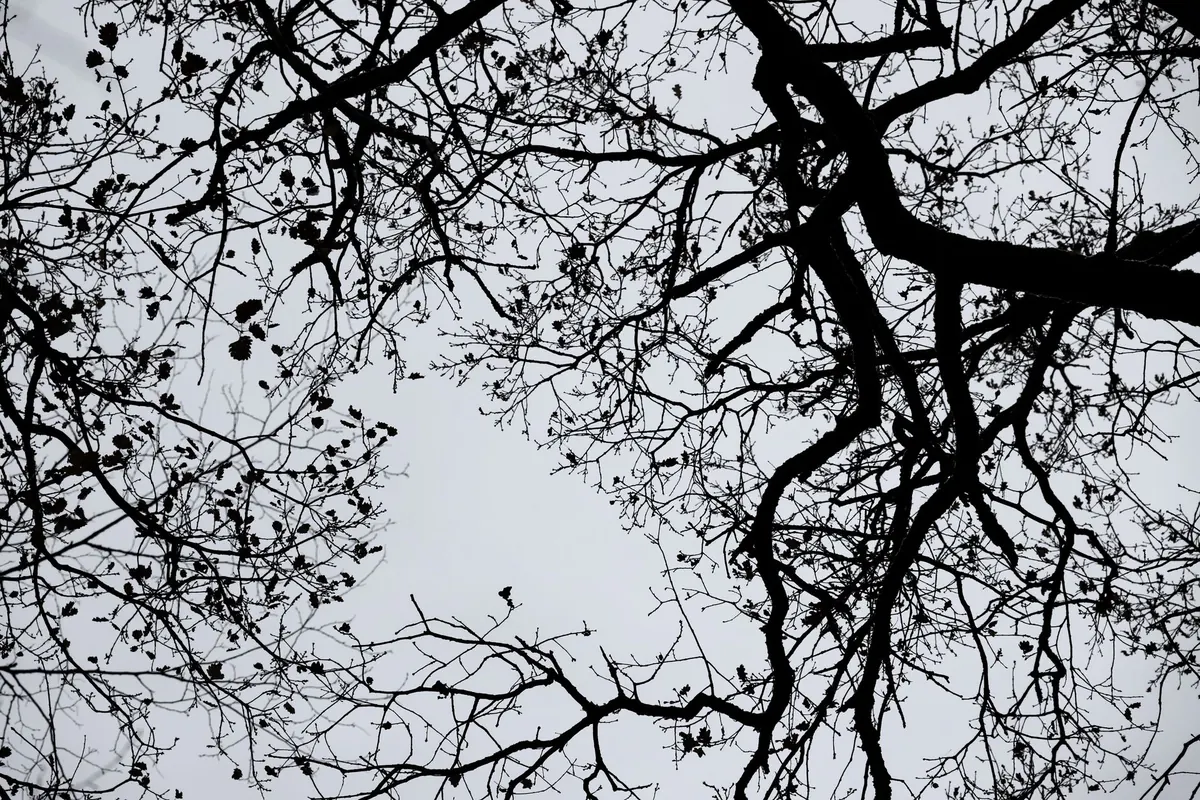
Autumn is generous, but it does not wait. A tree that looks dull green on Monday can be a wall of copper and gold by the weekend, and half bare a fortnight later. That short window is exactly why coloured pencils suit the season. They are slow, they layer, and they let you build the glow of backlit foliage in thin transparent passes rather than in one lucky stroke.
What follows is the approach I would suggest to anyone drawing their first serious autumn tree, and it holds up on the tenth. Read the light first. Choose a tree with a clear shape. Build the branches before the leaves. Then layer foliage in clumps, saving your sharpest detail for the edges where leaves meet sky.
Start by Reading the Light
Before a pencil touches paper, stand and look for a full two minutes. Squint until the details blur. Where is the sun? Is the light behind the tree, in front of it, or raking across it from the side?
A backlit canopy glows and the trunk goes dark, with bright rims where leaves catch the sun. Frontlit foliage is flatter and chalkier: the colours are obvious but the glow is missing. Side light is usually the easiest to draw and the most flattering, giving you a lit face, a shadowed face and a strong shape to hang everything on.
Next, reduce the tree to three tones: light, middle and dark. Autumn sunlight in Britain is low even at midday, so the best windows are often mid-morning and mid-afternoon, when shadows stretch and colour warms up. Write the direction of the light in the corner of your page. If you finish the drawing later from a photograph, that small note will stop you drifting.
A Palette Built Around Warm and Cool
Resist the urge to carry every orange you own. A single maple leaf can travel from yellow-green at the stem through gold and orange to crimson at the tip, and its shadowed side may be violet or deep brown. The useful rule is warm light against cool shadow, though autumn cheerfully breaks it whenever low sun bounces off dry grass and warms the shadows too.
- A warm yellow and a cool yellow, such as yellow ochre and lemon
- A mid orange and a deep red, for the turn itself
- Two greens: a yellow-green such as sap or olive, and a dark blue-green
- A violet or red-violet for the shadowed side of foliage
- A warm brown and a cool grey for trunks, branches and distance
- A very dark colour, indigo or dark brown, for the deepest gaps in the canopy
Ten pencils will take you a long way. If you own a large set, choose from it deliberately rather than reaching for whatever is nearest.
Find a Tree, Not a Forest
Look for outline rather than species. A tree standing alone at the edge of a field, with open sky behind it, will always be easier to draw than a crowd of trees against a hedge. A simple viewfinder, a rectangle cut into a piece of card, helps you test whether the whole tree fits your paper with a little air around it.
Decide early whether you are drawing a whole tree or a single branch. Trying to do both usually produces a small, fussy tree with a giant branch in front of it. If you have forty minutes, a branch against the sky or a handful of leaves up close is a complete study in its own right.
Build the Skeleton Before the Leaves
Start with a hard pencil or a light umber and keep the pressure gentle. Mark the base of the trunk, its taper, and where the first fork happens. It is almost always much higher up than you expect. Then follow the main limbs outwards, drawing through the canopy even though foliage will cover most of it.
Treat the trunk as a cylinder and decide which side is lit, leaving that side paler. A common mistake is to bundle branches from one point, so the tree looks like flowers in a vase. Forks occur at different heights and at different angles, and small branches change direction as they climb. Finally, sketch a light line around the whole canopy shape, so the mass of leaves has somewhere to sit.
Layering Foliage in Clumps, Not Leaves
Think in clumps about the size of your thumb, not in individual leaves. Foliage is a mass with a surface, and your job is to describe how that surface turns towards and away from the light.
- Block in the big clumps with your lightest middle tone, using loose hatching that follows the direction the foliage spills.
- Place the dark pockets early, with violet or deep green. Darks used early give the canopy depth instead of a flat wash of orange.
- Glaze warm colour over the lit side with a sharper pencil, working in the same direction as the form.
- Define a handful of individual leaves at the outer edge, where thin silhouettes catch the light. A few are enough to suggest thousands.
- Burnish only where you want the surface smooth, with a white pencil or a colourless blender. Leave the rest textured.
For leaf marks, use small crescents, commas and short round-tipped strokes, and vary their direction so the canopy does not look combed. Never outline every leaf. Let two or three layers of colour do the work, building slowly and checking the overall value against the sky every few minutes.
Paper, Sky Holes and the Feel of the Air
Coloured pencil behaves best on paper with a little tooth. Hot-pressed watercolour paper or a good pastel paper holds several layers without the surface clogging. Leave the gaps between leaf clumps as bare white paper from the start: those sky holes read as light pouring through the tree, and they are nearly impossible to add convincingly later with an eraser.
Keep the sky pale and simple, a soft graded blue that gets lighter towards the horizon. Pressing hard here will fight the warm foliage and flatten the drawing. Give the tree one confident cast shadow, long and stretched across the grass in a cool grey-violet with a warmer edge, and it will sit on the ground rather than float. Distant trees should be cooler and lighter than the one you are drawing, which is what makes the near tree feel close.
Make the Most of the Next Clear Morning
Pack light: a small tin of pencils, a sharpener, a kneadable eraser, a board, a glove with the fingertips cut off and something warm to drink. Set a time limit of around forty-five minutes and accept that the light will change before you finish.
Note the light direction, then stop when the shadow moves and complete the drawing at home, using a photograph as a reminder of structure and colour relationships rather than a line to copy. Go back to the same tree within a week and sketch it again from the same spot. Two drawings a fortnight apart will tell you more about autumn colour than any amount of theory, and you will have a record of a season that never sits still.
Photo: Christina & Peter / Pexels